
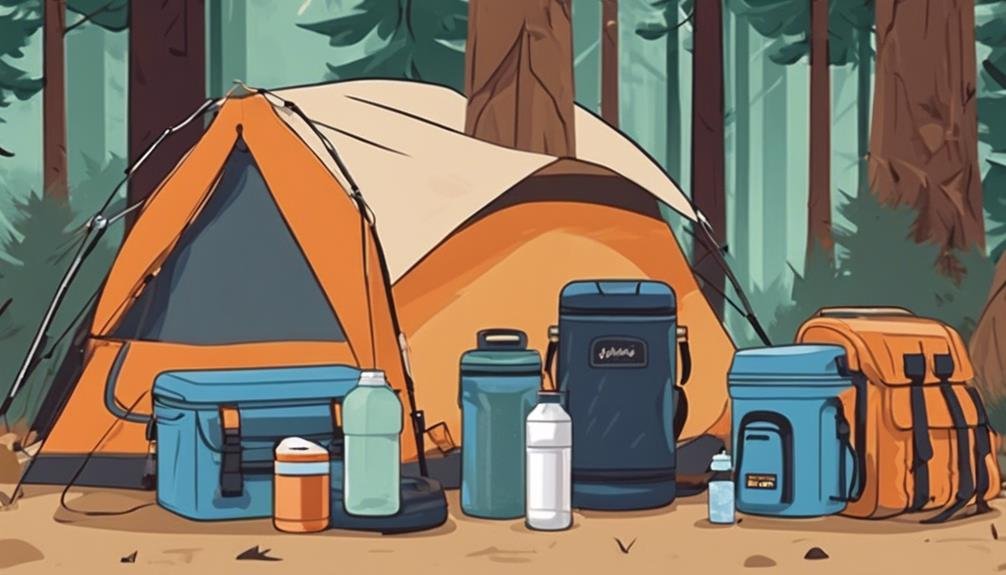
When preparing for a camping trip, you might not realize how essential a well-kept cooler can be. DIY camping cooler hacks can transform your experience, ensuring your food and drinks stay fresh and cold. Have you ever thought about pre-chilling your cooler or making your own ice packs?
These are just the start. By adopting smart packing strategies and advanced cooling methods, you can greatly prolong the life of your supplies. Curious about how to do this? Let’s explore some practical tips that could enhance your next outdoor adventure.
Key Takeaways
- Pre-freeze water-filled plastic jugs for durable, homemade ice packs that keep the cooler organized and dry.
- Layer ice and provisions alternately to maintain consistent cooling and prolong food freshness.
- Wrap the cooler in a reflective emergency blanket to minimize heat absorption.
- Use a false bottom with a wire shelf and foam pad for added insulation and stability.
- Clean and dry the cooler thoroughly after each use to ensure longevity and effectiveness.
Pre-Chilling Techniques
Prepping your cooler properly can make all the difference on your camping trip. To start, pre-chill your cooler the night before your adventure. Use sacrificial bags of ice to lower the cooler’s internal temperature. This step guarantees that when you pack it, the cooler is already cold, maximizing its efficiency.
Next, think strategically about how you layer your items. Begin with ice at the bottom. Then, alternate layers of food, drinks, and more ice. This will envelop your items in the cold, maintaining a consistent temperature. It’s also essential to organize your cooler based on when you’ll need each item.
Place items you’ll use later at the bottom and those you’ll need sooner at the top. This minimizes the time the cooler is open, reducing the cold air loss. For short trips, keep the melted ice water inside. This tactic helps retain the overall chill. However, draining the water for longer journeys will make more space for fresh ice. These pre-chilling techniques will ensure your food stays cold and fresh throughout your camping trip.
DIY Ice Packs
Let’s discuss how you can make your own ice packs for camping. By filling empty plastic jugs with water and freezing them, you can create ice packs that last longer and keep your cooler dry. This easy hack saves money and guarantees your food stays fresh and cold throughout your trip.
Homemade Ice Pack Supplies
Crafting homemade ice packs is a straightforward way to enhance your camping experience. Start by gathering empty plastic jugs, which will serve as the foundation for your DIY ice packs. These jugs are perfect because they can be easily filled with water and frozen, creating large, solid blocks of ice that last longer than regular ice cubes.
Using these homemade ice packs offers several benefits for your camping cooler. First, placing them at the bottom of your cooler guarantees a consistent cold environment that keeps your food and drinks chilled for extended periods. Plus, as the ice melts, it remains contained within the plastic jug, preventing your cooler from turning into a pool of water.
These DIY ice packs are not only budget-friendly but also help with cooler organization. You can strategically place them around your items, optimizing the cooler space and ensuring everything stays cool. Prepping them in advance lets you focus on enjoying your trip rather than worrying about keeping your perishables cold.
Step-by-Step Instructions
To create your homemade ice packs, start by thoroughly cleaning an empty plastic jug and confirming it’s free from residue or odors. Once cleaned, fill the jug with water, leaving some space at the top to expand when it freezes. Seal the jug tightly and place it in your freezer.
Freezing the water in these jugs creates homemade ice packs that are cost-effective and efficient. They last longer than regular ice and won’t fill your cooler with melted ice water, keeping your items dry and cold. Place the homemade ice packs at the bottom to maximize your cooler’s efficiency.
This allows the cold air to move upwards, keeping everything chilled. Organizing your cooler with these DIY ice packs is straightforward. Arrange the ice packs strategically around your food and drinks to ensure even cooling. Pre-freezing several jugs ensures you always have a ready supply of ice packs for camping trips.
Benefits of DIY Packs
DIY ice packs offer a range of benefits that make them a smart choice for any camper. First and foremost, they’re cost-effective and can last longer than store-bought options. Creating your ice packs from frozen water in plastic jugs, you’ll avoid the watery mess that regular ice often leaves behind in your large cooler.
This means your food stays dry, and your cooler stays cleaner. Another great advantage is the ability to tailor the size and shape of your DIY ice packs. This guarantees they fit perfectly into your cooler, maximizing space and efficiency. Whether you need large blocks for a big cooler or smaller packs for a compact one, you’ve got full control.
DIY ice packs are also incredibly sustainable and eco-friendly. Unlike single-use disposable options, you can easily refreeze your homemade packs near a freezer, securing a constant supply of good-quality ice. This reduces waste and provides a reliable cooling solution throughout your camping trip.
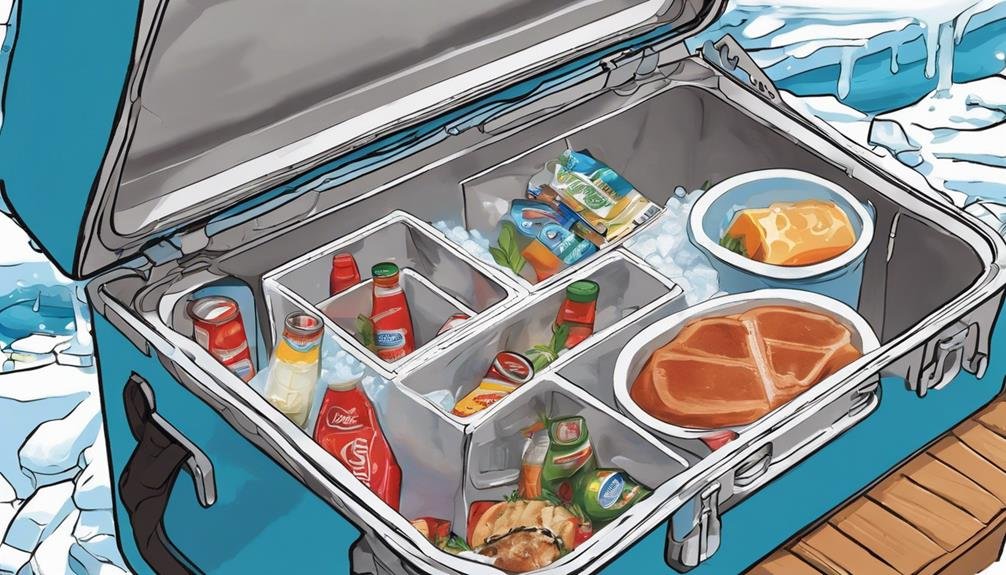
Smart Packing Strategies

When packing your cooler, organize items based on when you need them to prevent unnecessary rummaging and air loss. Place foods you’ll consume first at the top, and use a layering method with alternating layers of ice and food for better cooling. For short trips, keep melted ice water to retain chill, but remember to drain it for longer journeys to avoid water buildup.
Organized Item Placement
A well-organized cooler enhances your camping experience by maintaining your food’s freshness and accessibility. Start by placing items inside the cooler according to when you’ll need them. This approach reduces searching and preserves the cold air inside the cooler where it belongs.
Keep foods you intend to consume first at the top. This way, you won’t have to search through layers of other items to retrieve what you require. This not only saves time but also aids in maintaining your cooler’s cold temperature by minimizing how frequently you open it and allowing warm air inside.
You can also strategically use ice cubes. Position the ice cubes around items to ensure they’re uniformly chilled. For shorter trips, retain melted ice water to uphold overall coolness and optimize ice capacity. Draining melted ice water for longer journeys helps uphold the cooler’s temperature more efficiently.
Layering for Efficiency
Effective layering in your cooler ensures everything stays cold and accessible. Start by placing a thick layer of ice at the bottom of your cooler. This foundational layer acts as the primary cooling source. Alternate between layers of food, drinks, and ice. By enveloping items with ice, you optimize cooling and maintain a consistent temperature throughout the trip.
To minimize rummaging and prevent opening your cooler frequently, organize items based on when you need them. For short trips, keep the melted ice water in your cooler. It keeps the overall chill and provides more space for additional ice. For longer journeys, draining melted ice water helps maintain peak cooling efficiency. Here’s a quick reference table for best layering:
| Layer | Contents | Purpose |
|---|---|---|
| Bottom | Ice | Primary cooling source |
| Middle | Food + Ice | Keep perishables cold and fresh |
| Middle | Drinks + Ice | Ensure beverages stay chilled |
| Top | Food + Ice | Easy access to frequently used items |
| Top | Ice | Additional cooling and cap to prevent heat |
Layering Method
The layering technique is a clever approach to keeping your camping cooler organized and efficient. Using this cooler hack, you’ll start with a solid ice foundation at the bottom. This initial layer ensures optimum cooling from the get-go. Next, alternate food, drinks, and ice layers throughout the cooler.
This strategy not only keeps items perfectly chilled but also organizes them to maintain temperature regulation. One key benefit of the layering technique is that it helps organize items. Place foods and drinks you’ll need first at the top. This prevents unnecessary rummaging, which can lead to a loss of cold air.
Keeping frequently accessed items on top minimizes disruptions to the overall cooling process. The goal is to maintain a consistent and effective cooling environment within your cooler. This way, your food and drinks stay fresh longer.
Remember, alternating layers of ice and provisions means everything is enveloped in ice, enhancing the cooler’s efficiency. Using this method, your next camping trip will be a breeze, and you will have less to worry about spoiled food and warm drinks.
Drain or Not to Drain
While layering your cooler efficiently can greatly enhance its performance, another important decision campers face is whether to drain or not to drain the melted ice water. This choice significantly impacts cooler maintenance and the freshness of your food.
For short trips, keeping the melted ice water in the cooler retains the chill and provides more space for additional ice. This is especially useful if you frequently open the cooler, as the cold water helps maintain a colder environment. On the other hand, on longer journeys, draining the water is advisable to prevent soggy food and maintain freshness. It also helps avoid potential leaks and spills during transportation.
When deciding whether to drain or not to drain, consider the duration of your trip and the items in the cooler. Each approach has its advantages and disadvantages, as shown in the table below:
| Option | Advantages | Disadvantages |
|---|---|---|
| Keep Melted Ice Water | It preserves overall chill and more ice space and sustains a colder environment when opened. | Soggy food, potential leaks during transport |
| Drain Melted Ice Water | Prevents mushy food, avoids leaks and spills | Less overall chill and frequent opening reduce the effectiveness |
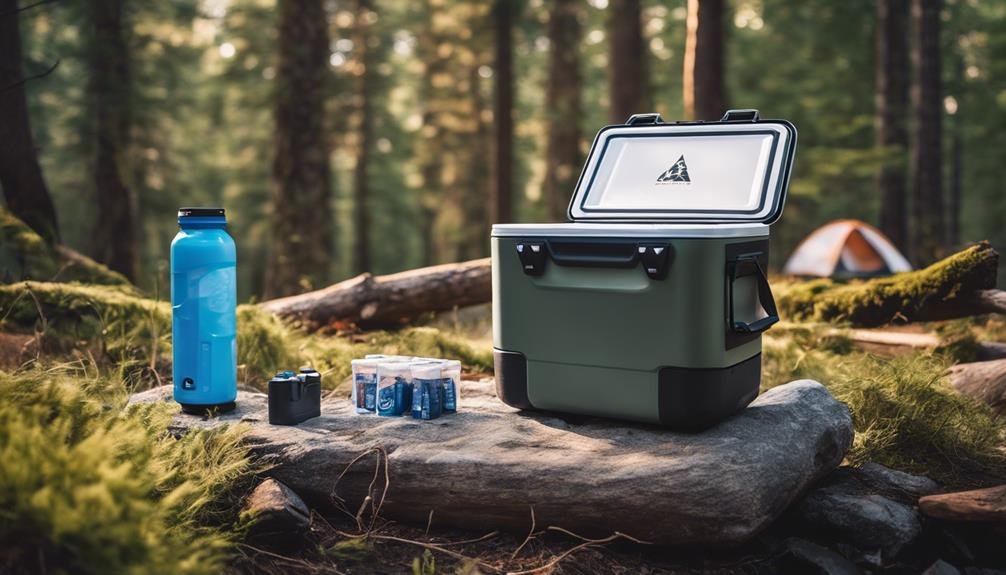
Insulating Your Cooler
Insulating your cooler is essential for maximizing ice retention during your camping trips. One effective method is wrapping your cooler in a reflective emergency blanket. This simple hack keeps heat out and cold in, especially when you’re camping in sunny conditions. To boost insulation further, consider installing a second lid with foam pieces.
This extra layer acts as a barrier, enhancing your cooler’s efficiency. You can also create a false bottom using wire shelf material. This keeps items dry above the melted ice, ensuring your food stays fresh. Adding a foam pad on top of this false bottom can provide additional insulation and stability.
Another clever trick involves making Super Polar Bear Tubes. Fill PVC pipes with saltwater and freeze them. They provide ice-cold temperatures, prolonging ice retention and minimizing the time you need to replenish it.
Lastly, don’t forget to add non-slip feet by attaching anti-skid pads to the bottom of your cooler. This prevents it from sliding around, keeping your setup secure. By employing these insulation hacks, you’ll maximize the efficiency of your cooler, ensuring your food and drinks stay cold throughout your adventure.
Advanced Cooling Techniques
When you’re ready to improve your cooler game, advanced cooling techniques can make all the difference. Start by operating two coolers together: one for drinks and one for food. This simple step will minimize opening and closing, keeping the main food cooler insulated and efficient. Here are three advanced techniques to contemplate:
- Pre-Chill Beverages: Before filling your cooler, pre-chill your drinks. This helps preserve ice and maintain a consistent cold temperature inside the cooler. By starting with cold items, you reduce the initial cooling load on the ice.
- Fill Completely with Ice: Ensure your cooler is fully packed with ice. A full cooler retains cold better and slows down ice melting. Use block ice instead of cubes if you can, as it lasts longer. Place block ice in a dry bag to prevent leakage and dry contents.
- Utilize Natural Water Sources: Place your cooler in the water if you’re camping near a cold stream or lake. This natural cooling method helps extend ice retention and keeps the cooler’s internal temperature low.
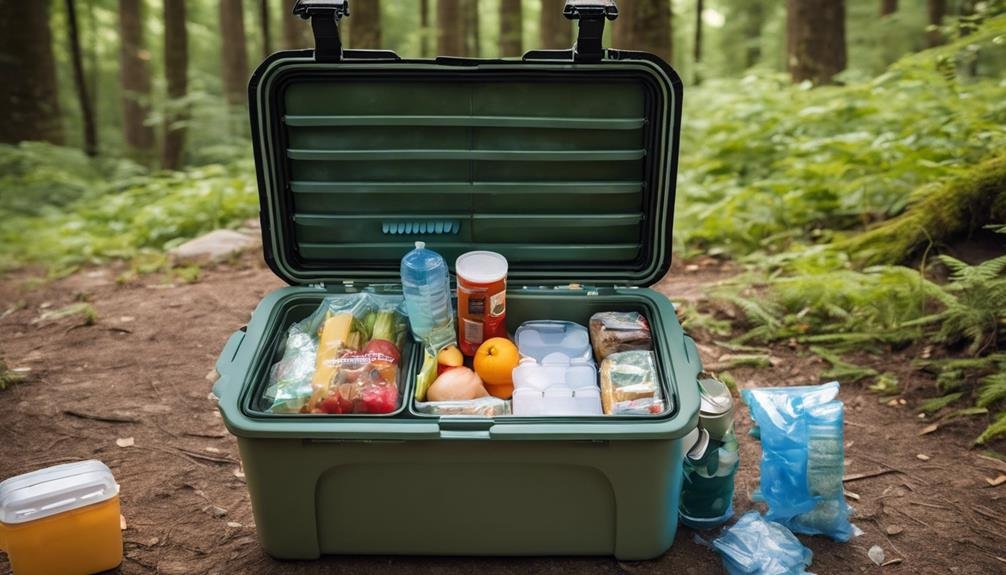
Food Storage Tips
Keeping your food organized and fresh in a camping cooler can be a game-changer for your outdoor experience. First, heavy-duty shopping should be used to separate food from ice, preventing soggy messes and aiding in ice preservation. This simple trick keeps your food dry and easy to find. Opt for containers that fit well in your cooler.
Properly sized containers not only maximize space but also enhance food organization, making it easier to locate items. Liquid repackaging is another [ESSENTIAL] step. Transfer sauces, salsa, and hummus into sturdy screw-top containers to prevent leaks and spills. This will keep your cooler clean and your food safe.
Repackaging paper containers like milk into plastic bottles is a smart move to avoid punctures. Additionally, freeze liquids such as milk and half-and-half in plastic bottles. These frozen liquids serve a dual purpose: they keep other food items cold and dry and thaw gradually, providing fresh supplies as needed. Here’s a quick reference table:
| Tip | Benefit |
|---|---|
| Use heavy-duty bags | Ice preservation, easy retrieval |
| Sized containers | Maximized space, better organization |
| Liquid repackaging | Prevent leaks, maintain cleanliness |
| Plastic bottle milk | Avoid punctures, prevent spills |
| Freeze liquids | Keep items dry, gradual thawing |
Effective Packing Techniques
To maximize cooling effectiveness, pack twice as much ice as food and use a mix of ice packs, blocks, and cubes. Tightly pack items to reduce air gaps and consider using separate coolers for different types of food. Organize your cooler strategically, ensuring the best temperature control and easy access.
Ice Types and Placement
Choosing the right type of ice and knowing how to place it can make a significant difference in maintaining your cooler’s efficiency. If you’re gearing up for a long trip, selecting the appropriate ice types is essential. Block ice, due to its larger mass and slower melting rate, is ideal for extended cooling.
Additionally, using square-shaped ice from gallon Crystal Geyser or two-liter pop bottles helps preserve ice longer in your coolers. Here’s how you can maximize your cooler’s performance:
- Use Block Ice: Since block ice melts slower than ice cubes, it keeps your cooler cold for an extended period, making it perfect for long trips.
- Separate Ice Storage: To minimize the frequent opening of your main cooler, consider having an additional large cooler solely for ice. This dedicated space will help keep your primary cooler’s temperature stable.
- Utilize Larger Coolers: Larger coolers preserve ice better due to increased mass. If space allows, bring a larger cooler to store your food and drinks, ensuring they stay cold throughout your journey.
Food and Drink Organization
When organizing food and drinks in a cooler, effective packing techniques are crucial for maintaining ideal cooling conditions. Start by strategically packing ice packs, blocks, or cubes. Aim for twice as much ice as food. This guarantees that everything stays cool for longer periods. Using two coolers can make a world of difference.
Keep your drinks in one and your food in another. This way, you can quickly grab a beverage without exposing your food to warm air repeatedly. Separating items also means maintaining better temperature control and keeping things organized and fresh.
Another key tip is to pack items based on when you’ll need them. Place items you’ll use first on top and those for later meals at the bottom. This minimizes rummaging and the loss of cold air, keeping everything cooler longer.
Maintenance and Care
Proper upkeep and care of your camping cooler guarantee it stays in top condition for many future adventures. After each use, make sure to clean your cooler with mild soap and water. This prevents bacteria growth and eliminates any unpleasant melt water that might accumulate, especially if you have a larger cooler.
Always dry your cooler thoroughly before storing it to avoid mold and mildew development. Don’t forget to examine the seals on your cooler regularly. Worn-out seals can compromise insulation, so replace them if you notice any wear and tear. Keeping the cooler’s seals in good condition ensures it retains its cooling efficiency.
Additionally, using reflective covers or placing your cooler in the shade helps prevent heat absorption, keeping your items cool longer. Consider enhancing your cooler’s insulation with foam tape. This simple hack can notably improve its ability to maintain low temperatures. Here’s a quick checklist to keep your cooler in peak condition:
- Clean: Use mild soap and water after each use.
- Dry: Thoroughly dry before storing.
- Inspect: Regularly check and replace seals if needed.
Frequently Asked Questions
What Can I Use as a Makeshift Cooler?
You can use a large Tupperware lined with aluminum foil and filled with ice as a makeshift cooler. An insulated backpack with ice packs is another great option for keeping items cold during short trips.
How to Make a Camping Cooler?
To make a camping cooler, start with an insulated lining for temperature control. Enhance it with solar-powered cooling for efficiency and add portable refrigeration for convenience. These features guarantee your cooler stays cold throughout your trip.
How to Make a Cooler Stay Cold Longer?
To make a cooler stay cold longer, use pre-chilling techniques such as sacrificial ice. Add insulating layers like reflective blankets. Implement ice rotation strategies with DIY ice packs or dry ice to maintain cold temperatures efficiently.
Should Ice Go on Top or Bottom of Cooler?
For best temperature control, place ice at the bottom of the cooler. This ice placement creates a cold barrier and improves effectiveness. Use quality cooler insulation materials and experiment with layering strategies to maintain consistent cooling.
Conclusion
Applying these DIY camping cooler hacks guarantees your food and drinks stay cool and chilled throughout your trip. Pre-chill your cooler, use homemade ice packs, and pack smartly to maximize efficiency. Remember to layer strategically and decide whether to drain or not based on your needs. Follow these tips for effective food storage and maintenance, and you’ll enjoy a hassle-free, invigorating camping experience. Happy camping!
Discover More Articles:
Tips for Maintaining and Cleaning Ice Chests With Wheels
Tips for Keeping Food Cold While Camping 2024: Essential Hacks
Custom Cooler Bags for Corporate Events and Outdoor Gatherings
